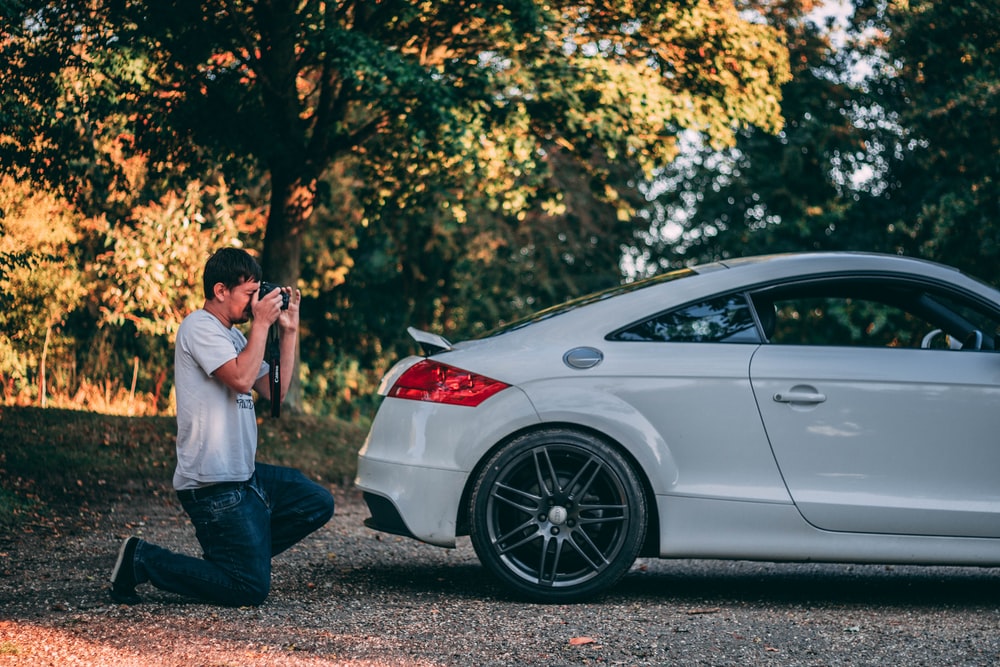
Despite being an avid lover of photography and more specifically, car photography, I’ll be the first to admit you need nothing more than the phone you might be reading this very article on to capture some fantastic shots.
We’ve all done it, captured a moment in time so perfectly on your smartphone you decide to switch careers and purchase that studio around the corner. Perhaps not, but a famous photographer by the name of Chase Jarvis once said “the best camera is the one that’s with you,” – and given the fact that our smartphones are always with us, they offer the most convenience for photo taking!
As consumers, we are attracted to clear, simple imagery that gives us just enough intrigue to want to find out more, and used car listings are no different. If someone is going through their research phase, and have narrowed their search down to a certain trim level or colour, it’s now up to your photography to ensure they head to your listing, not the competitors. Below we’ve outlined some super simple tips on how to ensure your used car listings really bring the views!
Framing, framing, framing
Now we’ll start with one of the most basic ones, but one that is often overlooked and done incorrectly. Framing is more than just putting the car in front of your iPhone screen and snapping away, it’s about ensuring all elements of the car are in shot, and presented as well as they can possibly be.
The first shot is often referred to as the ‘hero’ shot, a front ¾ shot that displays the front and much of the side of the car, often with wheels turned inwards slightly to show those off too. So far so good. Using a background that isn’t cluttered or distracting helps massively too, as it draws a viewer’s eye directly into what they need to see, the car.

Here’s a good example of two images, both of cars of a very similar price point, which one is your attention likely to land on? For us, it was the red one, mainly due to the clear and simple imagery. When scrolling through hundreds of listings, some people might have very specific extras or specs they are looking out for – wheel colour, bonnet stripes or tinted windows, meaning a ¾ shot will showcase more of the car and make it far more appealing!
Keep it consistent
Much like the framing, this one might seem super obvious at first, but it is often skipped over when cars are photographed for the website or social media. Having a consistent, simple and tidy background will ensure every car that is parked in front gets the limelight, not the bushes or rubbish bins behind it. Take some time to work out an area where the cars will be photographed, and ensure that the space is free from any harsh lighting or prone to unusual shadowing that may cause the shade of the car to be affected.

Photographing the car at multiple angles allows online viewers to get a better understanding of what condition the car is in, but consistent interior photographs are key. With so many different optional extras available on cars nowadays, showing these elements off can turn an interested viewer into an enquiry or even purchase.
Be sure to show a mix of wide and details shots, showcasing the seats and importantly rear seats and boot space if available, and then focus in on any special features such as heated seats or satellite navigation.
Refrain from over-editing
Sometimes, the lighting or environment just isn’t on your side, and it’s natural to want to enhance your images a little to make them stand out. The key here is to not be too aggressive with the contrast slider.
Keeping the images as close to the original as possible is ideal, and if you do need to add some more contrast or clarity, be very minimal with it and build up the edit slowly if needed. Keep in mind the images are often the first thing a user will see, so they need to stand out, but also not deter potential customers away!

The photos above are actually exactly the same, and we’ve blatantly blown out the editing on the second one, as we wanted to show how different the images can actually look. Be sure to keep an eye on the background, and crop out any awkward angles or distracting objects.
Use what you have
Whilst in an ideal world it would be fantastic to have thousands of pounds worth of camera equipment, an innovative marketing department at your disposal and a drive-in studio, most car dealerships need to make do with what they have, and that can be just as effective.
Any smartphone has a good enough camera for the job, and by ensuring you’ve followed the steps we’ve mentioned above you’ll have top quality imagery that will make any car stand out from the rest. Be sure to pick your focus points, often by simply pressing the screen to lock the focus on a certain area, and be sure to take a few photos at the same angle to ensure you have a few to work with.
There are some simple pieces of technology that can really help when photographing used cars though, it’s worth investing in a sturdy tripod, ensuring that your images are perfectly straight and all at a consistent height. A polarising filter is also a fantastic piece of kit to consider, as it will remove much of the garish reflections that often ruin photographs.

Here’s a great example of how a polarising filter works, and they can now be bought as a clip-on for your smartphone for a very reasonable price!
If you’re looking to upgrade your videos, we highly recommend investing in a gimbal or stabiliser, both of which can be purchased cheaply and will drastically reduce the level of shake from filming handheld.


